It may seem like we have taken a break. Hahahaha!
Truthfully, what happened, is that we started about 5 projects all at once that have taken a long time to finish. Not the smartest move when dealing with someone that 1. gets side tracked and 2. looses interest.
It also doesn't seem to help that all of our projects have had something happen that won't let us finish them.
More on that later.
A big change has been the kitchen. Mind you, there is nothing that is all that "earth shattering"...just getting rid of something that has bothered me.
Our house is a lot of things. New, it is not.
Our kitchen counters are laminate, and the laminate extends all the way up the wall. Handy, I am sure, back in the day.

If our laminate back splash was in good repair than we would have just kept it. The problem is that no matter how much I scrubbed there were those little grease dots that would not come off.
I tried.
Comet, Barkeepers Friend, Magic Eraser, Soft Scrub...
Blake didn't think it was such a good idea to remove the back splash. He thought we should just leave it until we remodeled the kitchen.
Thankfully, one day when Blake was switching out our plugs for GFI's he accidentally pushed the plug through the wall. Whoever had installed the plug had put it next to a stud, but had not secured it to the stud.
Thank you, lazy electrician...whoever you are.
That little plug fumble made Blake OK with taking down the back splash. If for no other reason then that he could fix the plug.
First, we had to take down the hood vent. We knew it was old, and loud, and dirty. I figured that I would clean it and then spray paint it with heat resistant paint. I had already even bought the paint.
We underestimated just how dirty it would be.
WARNING:
There are some things that you can not un-see. This hood vent is one of them.
Blake unscrewed the screws and then started to take it down. I told him that I was going to take pictures. Mostly I was scared of what we were going to find. The further away the better.
That black gunk? Grease build up from 1963.
That wasn't the worst part. Nope.
The bug skeletons on the top of the vent were the icing on the cake.
It was then and there that the decision was made. That hood vent was never coming back into our house....ever.
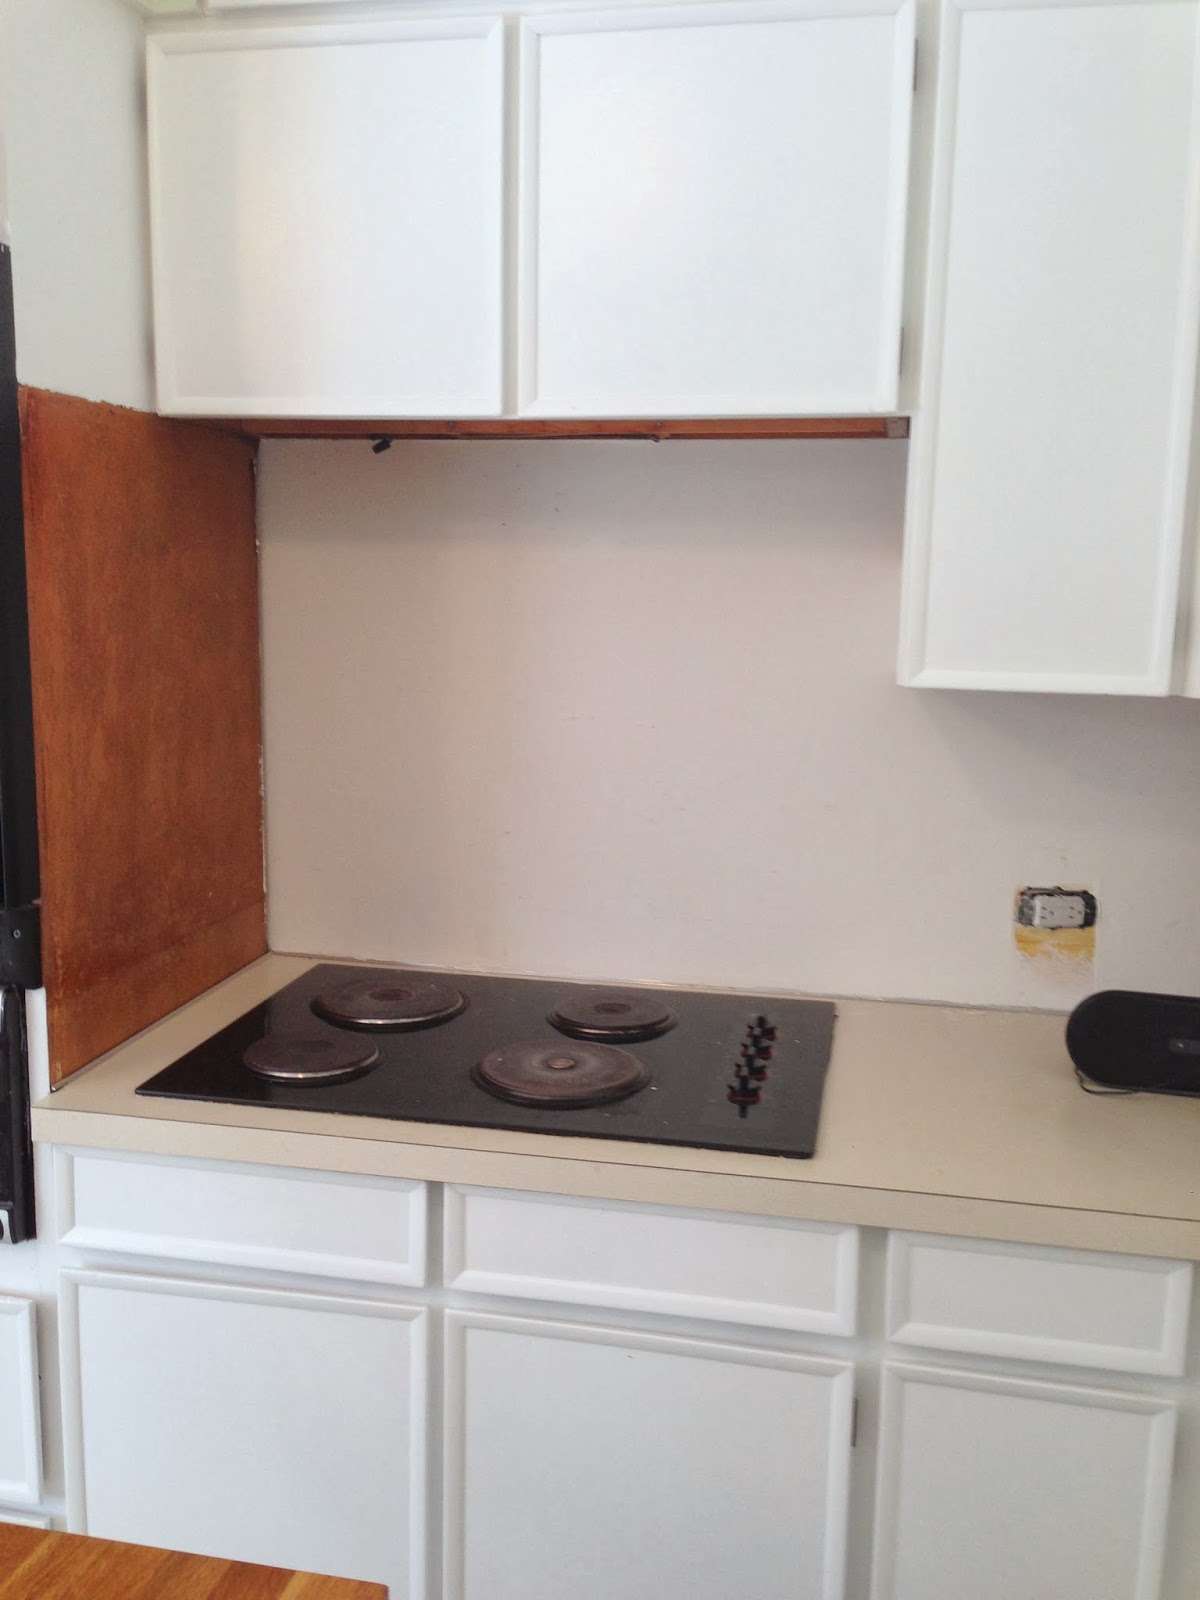
Then we started the fun/terrifying part of removing the laminate back splash.
It started out easy enough. It popped right off of the side of the cabinet. The drywall required a little more finesse but it was pretty easy too. We would take a putty knife and wedge it under the laminate then we would take the hammer and gently tap the handle of the putty knife. Alternating between using a putty knife and a screwdriver worked the best.
Blake worked on about half the wall, and I worked on the other half.
Until it looked like this...
Errr...Blake wanted to photo bomb....
until it looked like this.
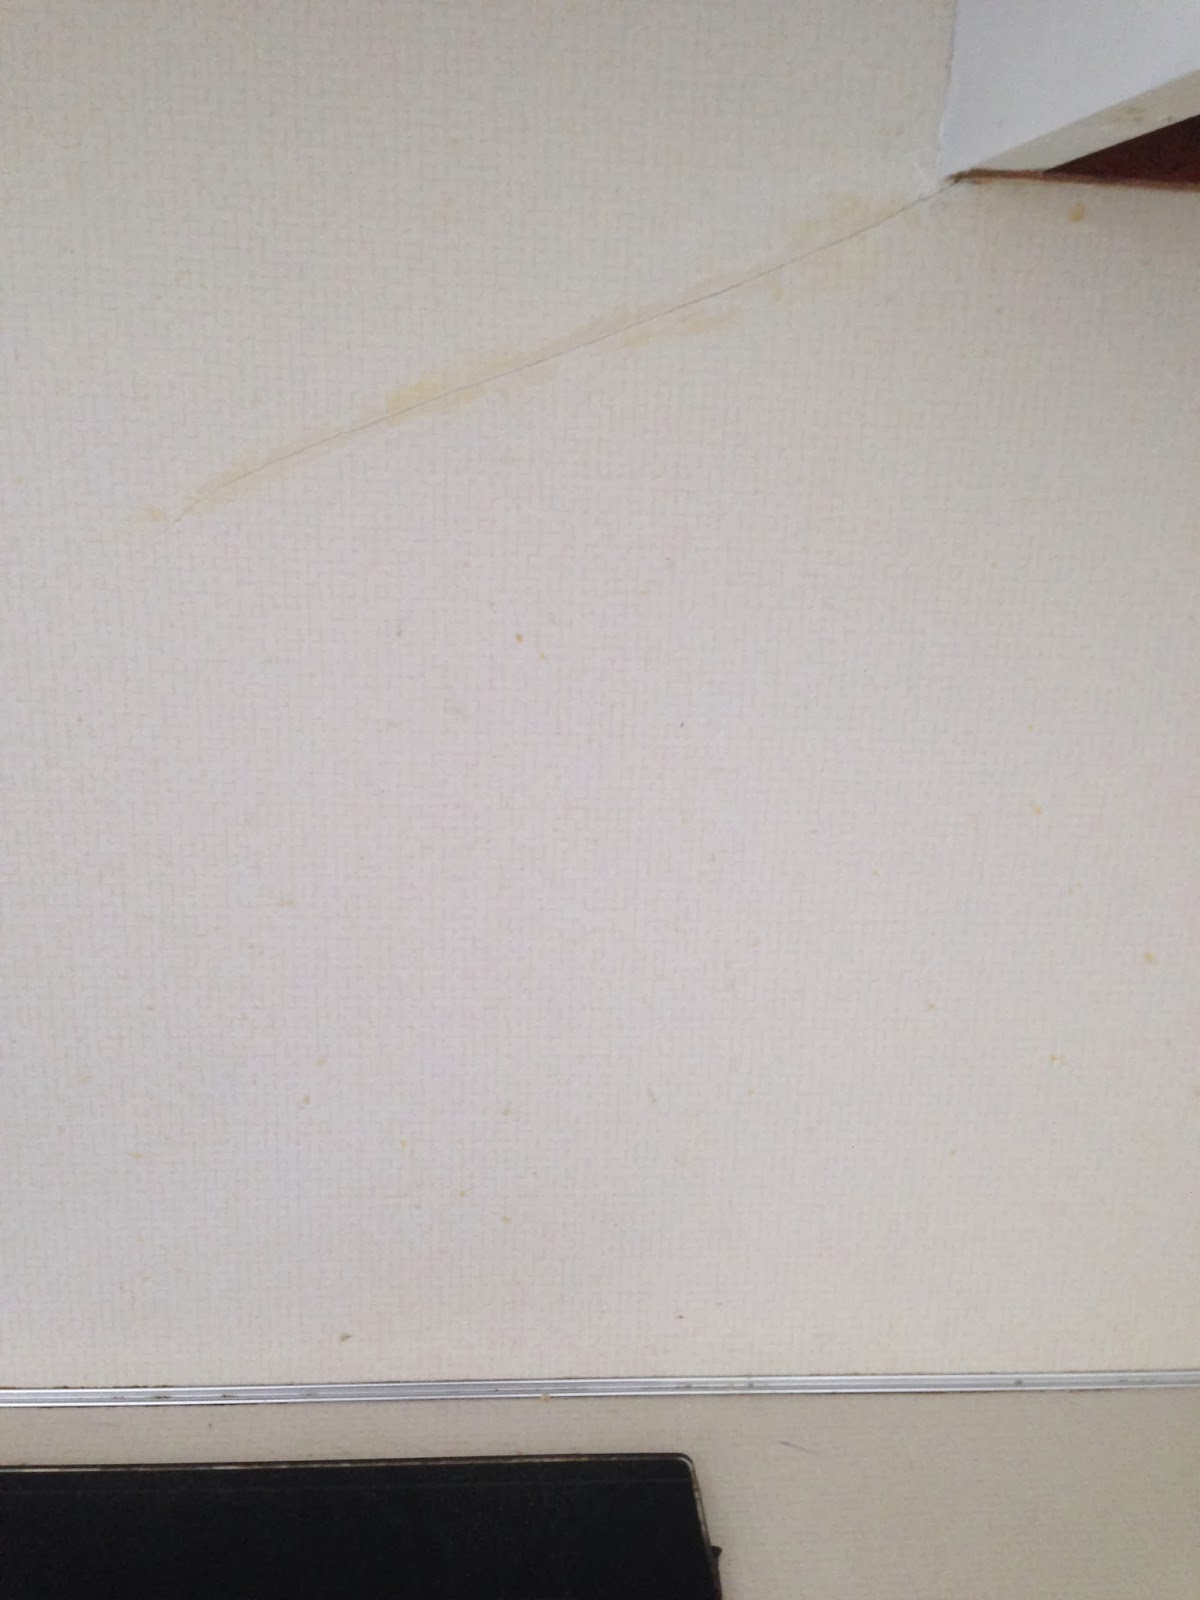
The yellow is the glue that they used, and the brown spots are where the paper had peeled off of the sheet rock.
Some spots were not good and missing a bunch of paper.
After a little bit of research we decided that doing a coat of dry wall spackle would work best.
Working in small areas I would apply a thin coat, and then I let it dry and reapply another thin coat, until all the walls were covered.
Then using a small grit sandpaper I began to go over the walls.
Sanding didn't take long but it did make a lot of dust.
I also used some stripper to remove the glue on the side of the cabinets.
When I was done, I wiped down all of the walls and began to prep them for painting with some primer.
By simply priming the walls, they were already looking leaps and bounds better.
The kitchen looked like a tornado had hit...but the walls? Lots better.
Then I got out the green paint and went to work.
Funny thing is, when the walls were primed I was liking the walls white. I have not been able to stop thinking about it. Down the road the walls may get a new coat of paint. White paint.
Spoiler...something else in the kitchen got a makeover. Want to guess what?


No comments:
Post a Comment