Tuesday, December 31, 2013

Rearranging For the New Year

Since we moved in, the upstairs living room has looked like this.
It was fine. I have been dying, however, to move the small couch that was downstairs upstairs....just to try it.
Since I had to put away Christmas, I figured this was my opportunity to ask Blake to help me move the couch.
Another thing I wanted to do was ditch the rug in our basement. I like it. The problem is, no matter how much I tried I could not get it to lay flat. I even spent a day steaming it with an iron and laying books on top of it. Nothing. Still bumpy.
So after I got all of the Christmas stuff put away, I got to work. I know some people draw stuff out on paper and don't just move furniture around all willy nilly...but I do. I have to move the furniture and then see how it "feels."
I tried a couple of different formations:
I liked both, differently.
Then I had a thought...what if I tried that cursed rug?! I figured that I was going to sell it, but by looking at it in the room, it would help me decide if I wanted to find one for this room in the future.
Suddenly it was like the room was more cozy...complete? I don't know. And wouldn't you know? The rug lays flat up here. The most interesting thing is even though there is more furniture it feels more open.
Blake likes the leather chair in the living room because it is extra seating, but ideally I would like to move it downstairs. We will see who wins out.
Sometimes all you need is just a little change to make a room seem different.
Since I had stolen the rug from the basement, I was on the lookout for a new one.
Not having a rug downstairs is not an option. Our carpet is nasty, and needs to be covered up. Lucky for me Ikea saved the day. So, unintentionally, downstairs got a little makeover too.
This rug from Ikea is great. It is very inexpensive, as far as rugs go (Hello! $99 for a 6'7"x9'10"), and it adds a graphic contrast that I really like.
And...since we can't have some days off with out replacing something in our house...
The faucet in the main bathroom was on it's last leg. The knobs were becoming stripped and it was just a matter of time until we had to replace it.
Luckily, madame fate shined her favor on us, and we found a faucet at Home Depot that was originally $98 marked down to $24. We bought two. One for the upstairs bathroom and one for the master bathroom (if we ever get around to it).
One would never guess that changing out a small faucet would create such a mess. It started in the hallway, and just progressively got worse the further into the bathroom you got.
After one and a half hours, a couple mumblings, and some good ole fashioned muscle, the sink was in.
One of these days we will replace the whole vanity, in the mean time...this works.

Any projects that you have done over the Christmas break? I would love to hear!

Monday, December 16, 2013

Painting the Roses Or Dots Red. Whatever.

December is a busy month.
I am probably preaching to the choir.
I haven't only been doing Christmas stuff, there has been other "stuff" too. Problem is, finding the time to blog about it. In other words, lots of things to come in January. 
In the mean time....enjoy some of what remains of the bathroom.

I made the decision, I was doing polka dots. I couldn't decide on the size or how many...but I was doing dots and they were going to be a coral red color.
After much Pinterest hunting I decided that I liked the size/spacing/randomness of this picture the best.
So, I went with it. I found a circle cap that I had, and used that as the template. If you know me, you know that while I like the way "random" looks, my brain tells me that it is all wrong. So, trying to space my dots, with out making them looked spaced was...interesting.
I started by drawing circle outlines on the walls. I would do a couple and then stand back and look to see if I liked it. The more dots I put on the harder it was to see the spacing.
So I put x's inside my dots. That didn't work quite as well as I had hoped either.
 So I put on my thinking cap and went with what I had...little dot stickers.
The color of the dots was annoying, but it gave me a good idea as to whether or not I would like it, and if I needed to have more or less of them. In the end I decided that I liked the spacing. Seeing the dots visually also helped me to decide to add dots to the wall with the window and the wall with the door, that I was previously going to leave white.
Then I painted each one of those dot outlines with a little paint brush, twice.
They are not perfect, but I kind of like them that way.
Personality, and all.
Next step in finishing the bathroom was picking out a shower curtain. I do just about as well with picking out shower curtains as I do with picking out curtains. In other words. Not well.
So, I decided just to make one. Simple as pie. Um...no. Picking out fabric for the shower curtain gave me a minor hernia.
I had two pictures on my phone to help me with picking out colors. 
When I finally picked out the fabric that I liked....they didn't have enough. A grown woman almost cried right there in the store. Alright, alright. I may be overselling it a bit. But I did have an internal tiff, then proceeded to buy 4 swatches to decide which one I liked best by hanging them up by the shower.
Wouldn't you know the original one that I liked, I still liked the best.
So I went back to the store and bought all of the yardage that they had, and crossed my fingers that it would work.
Fate was evidently on my side that day, because just a couple of seams later and I had a functioning shower curtain.
With a shower curtain, some dots and a bespectacled pig we were set.
There are still a couple of things that need work. Namely, finishing the vanity (Hello! no drawers!). Also this little nook is odd. It has our water softener in it, and it also has the shut off for our AC unit.
We plan on eventually putting a door there and making it a linen closet, but in the mean time I found a dresser that may find a home there.
$7 for a good wood dresser isn't bad in my opinion.
Blake always says that before and after pictures are his favorite. So for Blake, may I present....
Before:
After:
It looks like this picture is taken from a different angle then the before picture. 
It isn't.
So strange that most of this bathroom use to be a big closet.
Before:
After:
Before:
After:
Before:
After:
Before:
Before again:
After:

Still on the list?
finish the vanity
paint dresser
make curtain or valance for window
shelves above toilet

Monday, December 9, 2013

Tiling and Building a Vanity

I think by now you all know that we decided to make our own vanity.
I liked this one, and Blake liked that it had legs, so we worked off of that.
I managed to find this one on KSL and I discovered later that it was shockingly close to the one in the picture.
It was not in the best shape but I managed to get it for a lot cheaper than any other ones that I had liked.
The first thing I did was wash it. I normally use vinegar (it gets rid of any smells) and a magic eraser.
The top of the dresser had a veneer top that was missing in some spots and rippled and bumpy in others.
I tried removing the veneer, since I knew I was going to be painting it, and that proved to be harder then I read it was supposed to be. So, I removed what I could and then filled in the dips and bumps using a combination of wood filler and wall filler. Then I sanded, then filled, then sanded again.
Once the top was smooth, I primed the whole dresser using KILZ oil based primer, since I was going to be using an oil based paint.
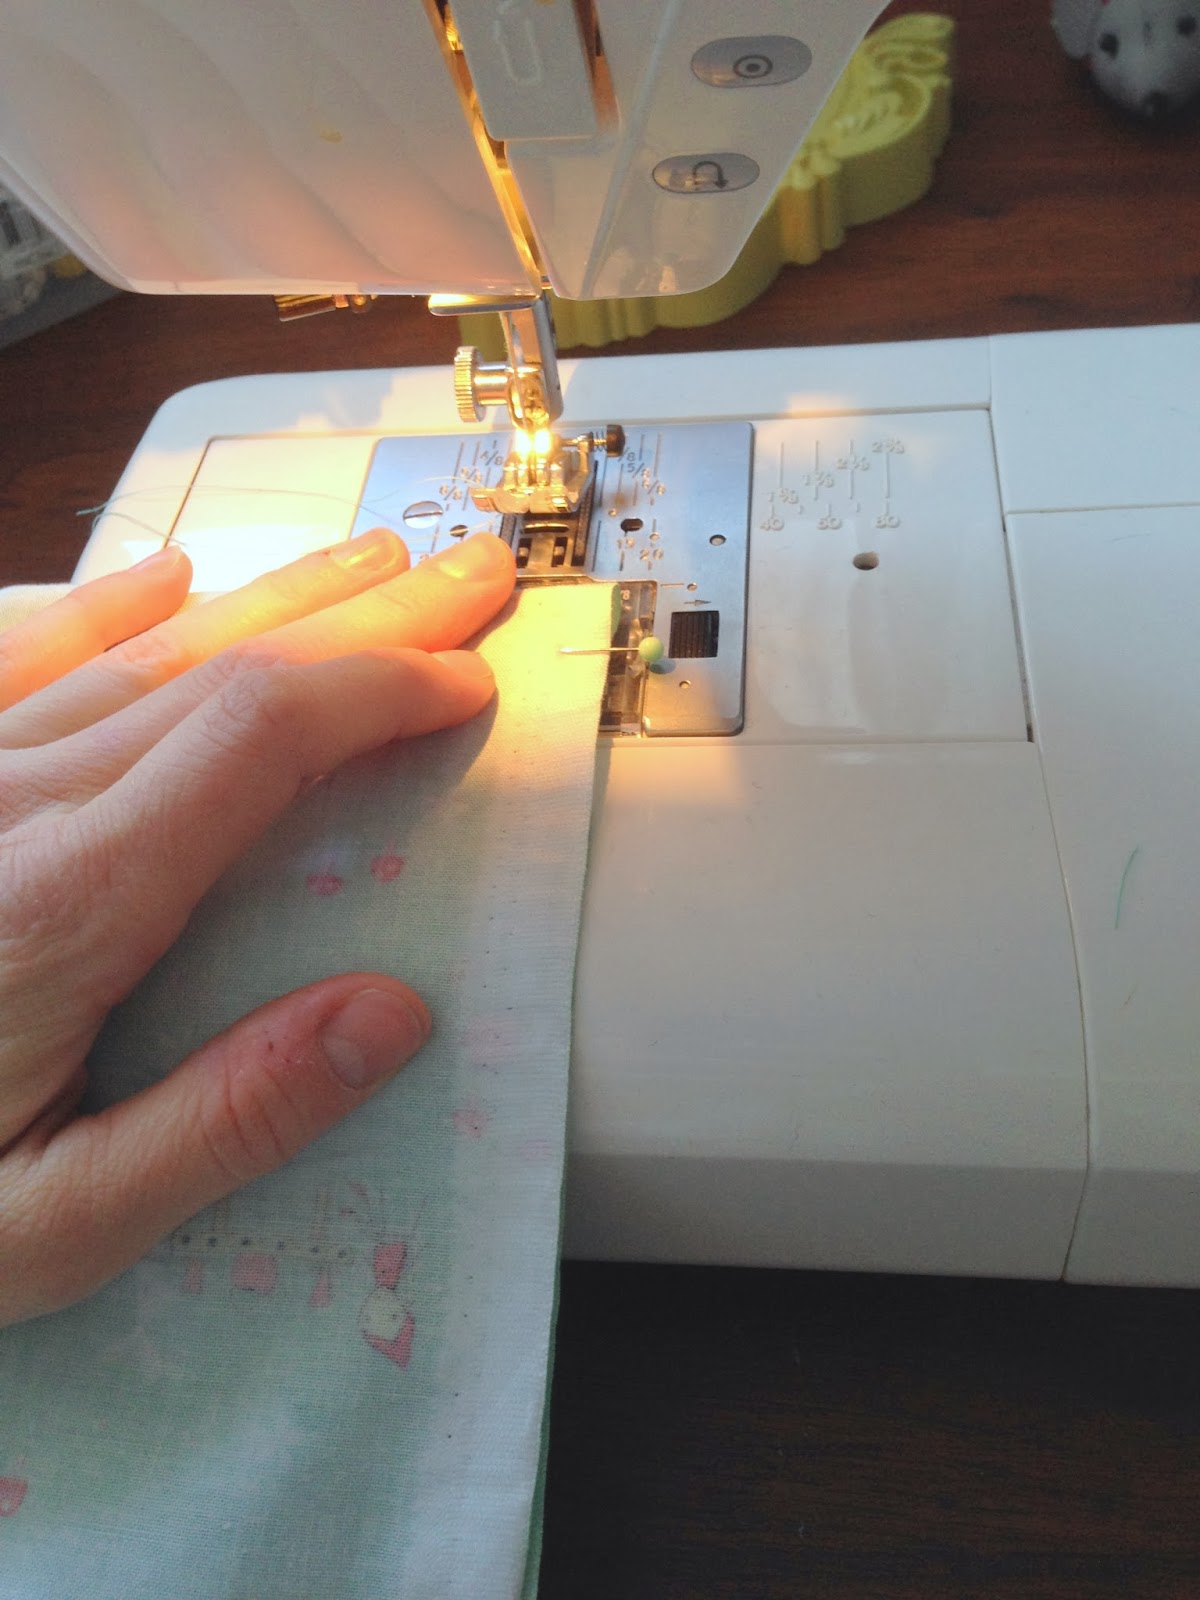
I had never painted anything with an oil based paint before. I have used spray paint a lot but never used a brush to apply it. I read a few articles about the pros and cons of oil based paints. The reason that I decided to use it on the vanity, is because we knew that we wanted it to have a nice hard finish. I also wanted to make sure that it was sealed because it was going to have a lot of exposure to water.
Most of the articles that I read said that when you paint with oil based paint you want to put the paint on like you are painting your fingernails. When it is down you move it around quickly, but then don't go back to fix something...because it would ruin it. Because of the slow drying time with oil based paint it makes lines that show up, disappear over time because it levels out.
(These may be the worst example pictures ever. I am sorry for that. Hopefully you get the drift.)
This is what the paint looked like right after I finished coating the top.
Lumpy bumpy and not at all encouraging.
After about 8 hours it looked like this. Such an improvement.
When the first coat was dry, I sanded the paint and then I applied another coat.
It ended up being shiny and just like I wanted it to be.
After the coats were done I brought it inside for a few days to finish drying since it was so cold outside.
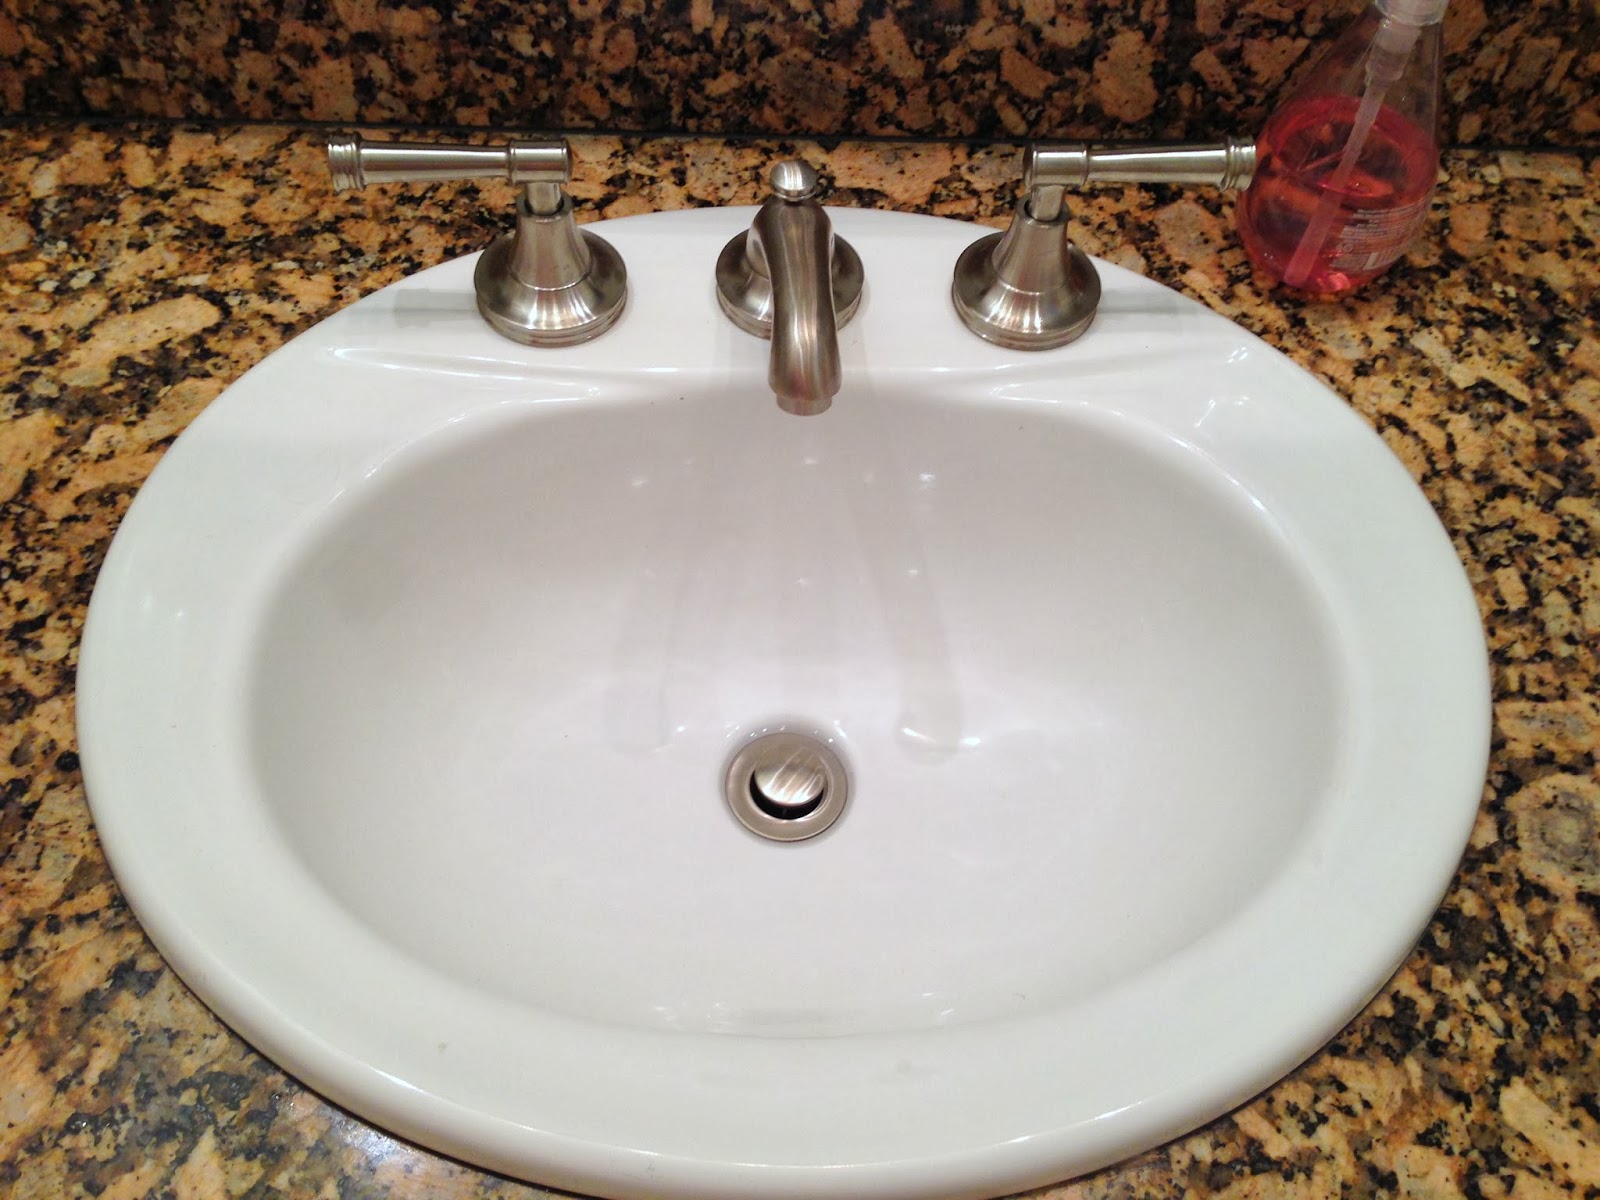
We even gave it a trial run in the bathroom just to make sure that it would fit.
Thank goodness it did!
Blake and I measured the top of the soon to be vanity and decided on a sink size. We then went, and bought a sink from Home Depot. The next job was to cut the top of the vanity to put the sink in.
I won't lie. It was a little nerve wracking.
In the sink box there was a template for the sink. We decided that we were going to have the sink be off center and so we traced the sink where we wanted it to go, using the template.
Then, Blake drilled a whole in the vanity as a starting point for cutting out the template.
There was no going back.
Blake used the saw while I took pictures, and had the shop vac going, to pick up any amount of saw dust that I could.
We wiped the vanity down and then put a bead of caulking around the bottom rim of the sink to hold the sink in place.

The tile:
This is how we did our tile. This does not mean it is right. It is just what worked for us.
We were originally going to cut two rows of tiles to fit and then put down thinset, then repeat.
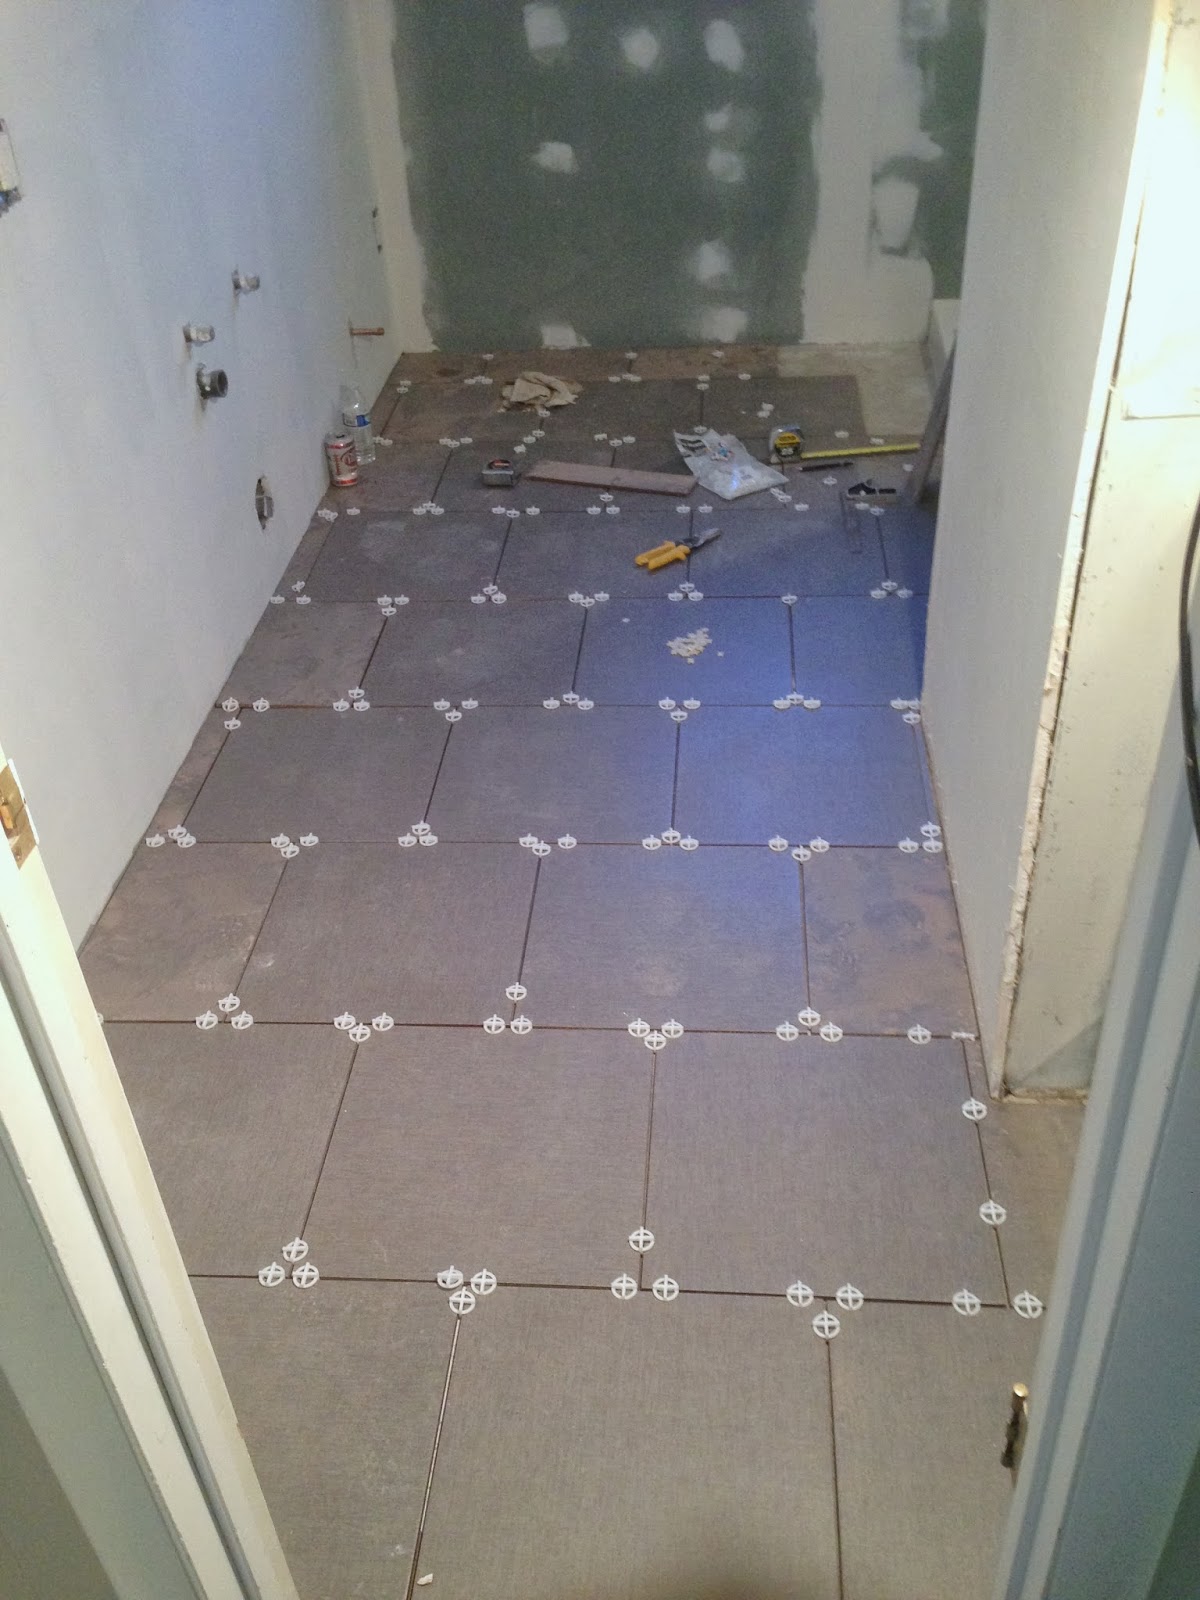
About two rows in we made the decision to cut all of the tiles at once, space them out, then go back and do the thinset and grouting. We worked backwards. We started at the door and worked our way back into the bathroom. Normally, this is the opposite of what you are supposed to do. The reason that we did it this way is because we wanted to make sure that the tiles that were the most visible, the ones closest to the door, were straight. Instead of just having our tiles go in straight lines we opted for a bricklayer pattern.
Working off of our center chalk line and our other chalk line we measured and cut the tiles.
When all of the tiles were cut, we started with the thinset.
We did one row at a time so that we could work off our center chalk line, and also so that we could course correct if we got off in spacing.
Turns out...we spaced it just right.
After tiling the floor we had to let it dry for 12 hours before we could do the grout. We decided to use that time to put in the white shower insert that we had. Only...there was a problem...
we had been told that with the shower insert that you are supposed to sheetrock, and then put in the insert. Nope. Putting up the drywall had made the space too small for the insert to fit in. So, we were faced with two options. Either we could A: remove the drywall and put in the insert (putting us back a day)
B: tile. More expensive....
In the end we decided to tile. We knew that we would be more happy with that option to begin with, but we had chosen the cheaper option of an insert. Now fate had forced our hand, so we got to tiling.
Because it was sheetrock in the shower, we put up hardi backer on the sheetrock so that we could tile over the top. We also left the insert pan as our floor in the shower because it was already sheetrocked in.
After all of the thinset was dry we started to grout the floor. Blake was in charge of grouting and I was in charge of wiping down the tiles.
We made pretty quick work of it together.
After you grout you wait 12 hours before you can walk on it.
Let me tell you...walking on a newly tiled floor? Glorious.
Looking at the floor almost made me want to bust out in song. Something along the lines of this maybe.
I painted the walls, then it was time to move in the furniture, that is...if a toilet is considered furniture.
We placed the vanity where it was supposed to go and then cut a space out of the back to make room for the pipes.
The sink fits perfectly in the right drawer, so that we are still able to use the left drawer.
Because of the pea trap, we will have to cut a notch out of the bottom two drawers, but they will still be able to be used to store stuff.
Even with the bathroom being bare bones, we were feeling quite accomplished. I mean, how could we not be?