Showing posts with label kitchen. Show all posts

Tuesday, March 25, 2014

Mother Knows Best

Our kitchen has managed to have a couple of paint jobs already.
Hello. My name is Hannah, I am indecisive and I like to paint.
The two combined make for some pretty entertaining conversations around our house.
"I think I am going to paint the kitchen green."
Blake: "OK."
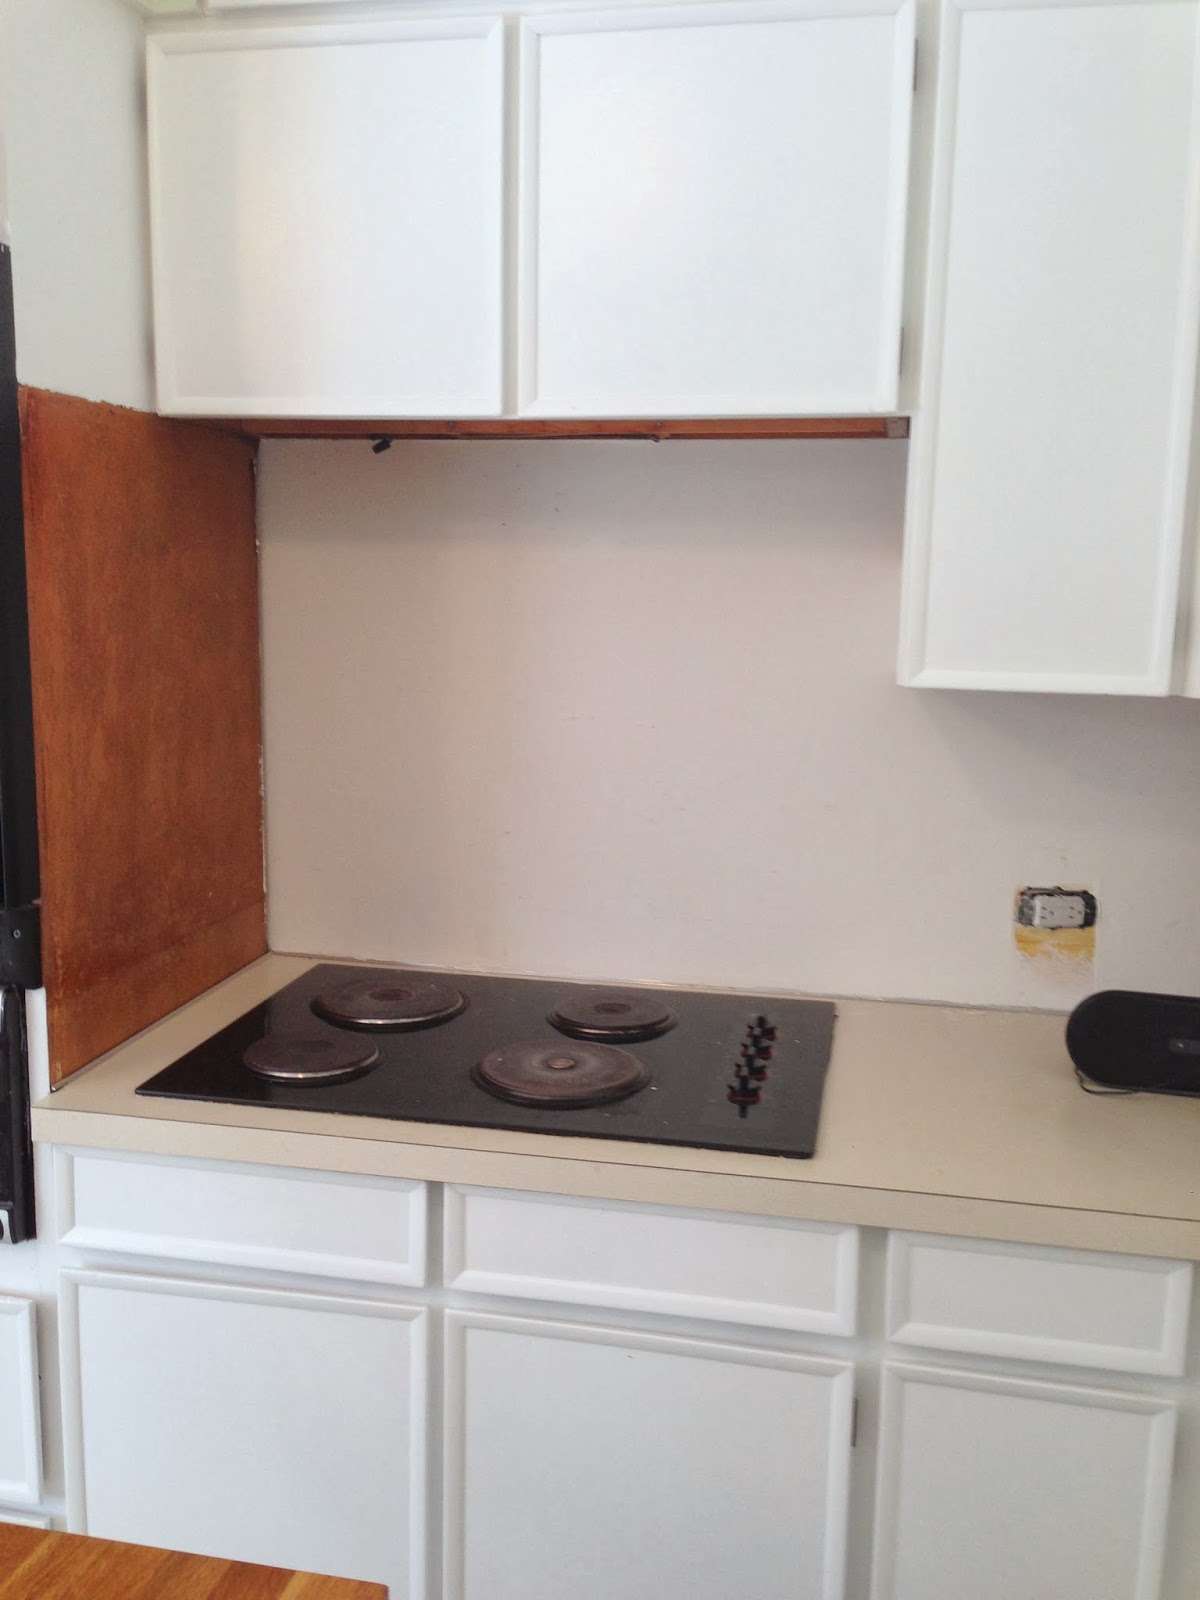
"I really hate the back splash, let's take that off and then I'll just paint the wall."
Blake: "OK."
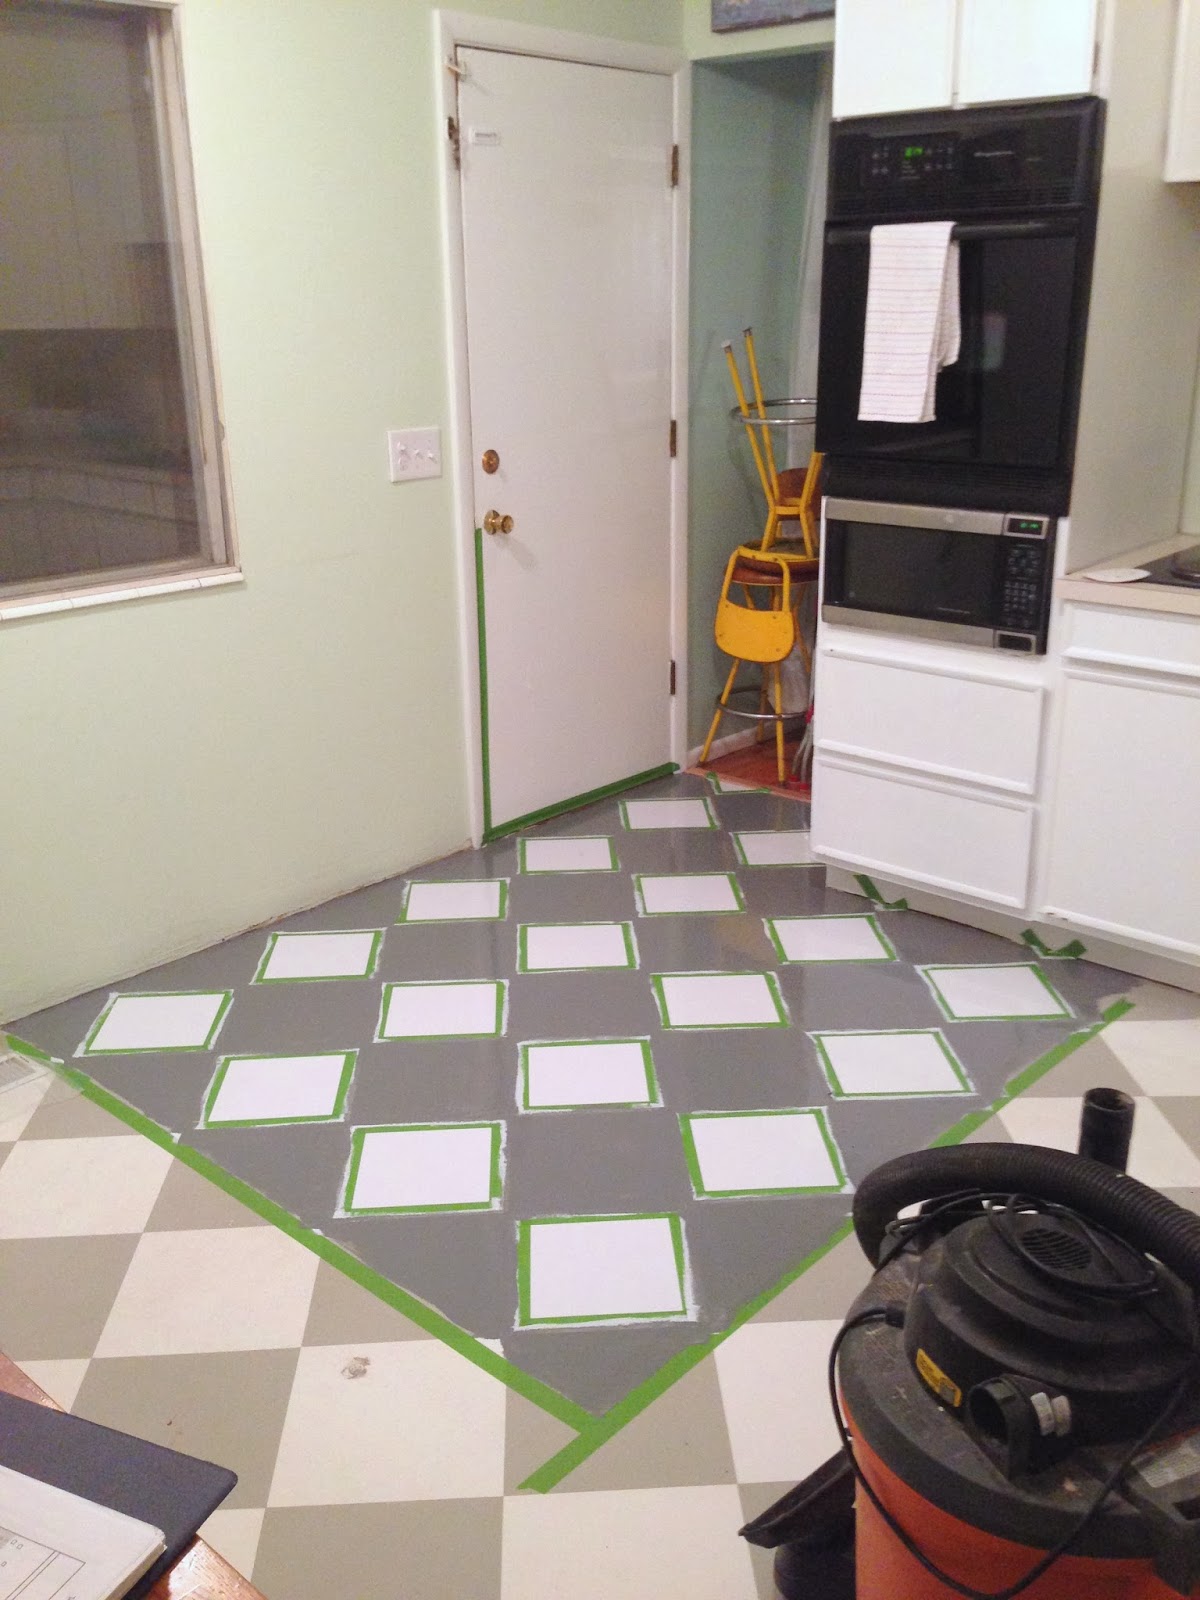
"Actually. I am going to repaint the kitchen floor."
"Now that I have painted the floor, I don't really like the grey with the green. I think I am going to paint the walls white."
Blake: "Really? White? OK."
"I didn't really like the white, I think I am going to paint the kitchen grey instead."
Blake: "If you think you will like it..."
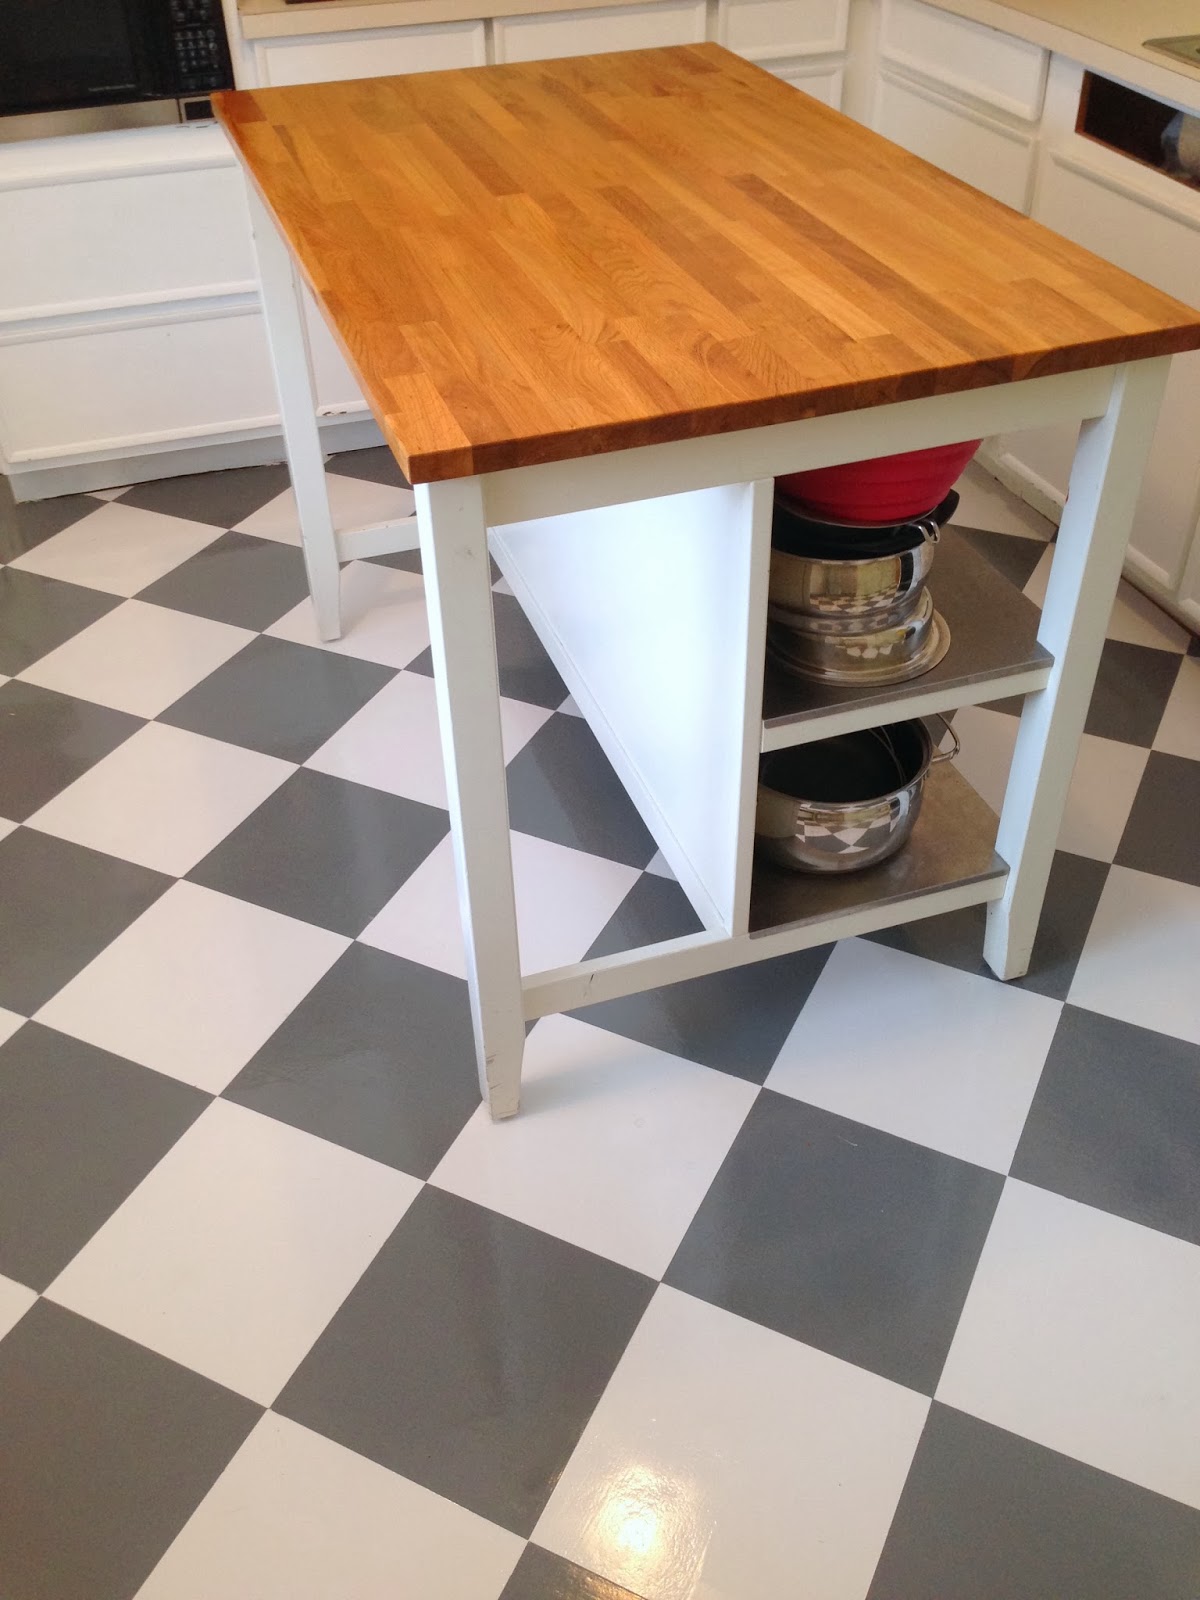
So do I like it?
So far...yes.
I need to be able to find some things to go on the walls but in the meantime I am happy with it. 
I painted above the cabinets white which seems to draw less attention to their oddness.
The grey feels a bit more soothing, and a little less...in your face.
After we got back from our cruise my Mom stopped by real quick on her way back to Washington. She hadn't seen the house in person yet, so I gave her a quick tour. When we were in the kitchen I showed her our "fridge nook" that had no fridge in it. We had opted to use our bigger fridge upstairs, and take the fridge that came with the house downstairs.
My mom asked me, why if I had two fridges, why it mattered if we had the smaller one in the kitchen?
Ummmm. I didn't have an answer for that.
After searching high and low for a picture of that corner of the kitchen I found only a few to show you.
This is where our fridge was.
Here is the fridge nook where I had put a shelf that could act as a pantry for us.
If this is helpful...I don't know. But, this is where the nook is.
Got it? Maybe?
Let's just pretend that you do.
So my Mom posed a very interesting point. I truly didn't know why it mattered what fridge I had upstairs.
So I made Blake move them.
Downstairs fridge upstairs, upstairs fridge downstairs.
Now all of the sudden I have oodles of room. Plus, I am not blocking the window.
The spacing in the kitchen is a little odd but I am not sure there is a way to fix that. Although, I think curtains may help.
After a good scrubbing of the smaller fridge,
and adding some of my favorite pen holders. The smaller fridge was ready.
Two things are evident.
1. Dance party in the kitchen is going to happen. There is totally room.
and

 2. You are never to old to listen to your mom.

Tuesday, February 4, 2014

Round About Way...Back To The Beginning.

Our kitchen is a far cry from where it started from.
It never ceases to amaze me what a little paint can do.
However, this is not a tale of back patting. It is more of a cautionary tale.
Before we moved into the house we were working night and day to try to get as much done as we could. We wanted it to be nice when we moved in.
I worked on the kitchen for probably about a week off and on. We meticulously primed, taped and painted every square. It looked pretty and clean.
I knew that we were running out of time and I still needed to apply an acrylic topcoat to protect it. One night, before leaving for the night, I decided to just do it...real quick.
Real quick.
Oh how I regretted that. I used a roller and rolled that acrylic on. I saw in the first little bit, that it was creating tiny little bubbles but I didn't think that it would matter in the long run. 
The next day I put a second coat on, the same way. I needed to have the acrylic have 7 days to harden before we were supposed to put stuff on it and I was at 6 days. Desperate times.
If there is one thing that I have learned, it is this:
A rushed job is never as good as you would hope it would be.
Those tiny little bubbles eventually popped. (Not that you could tell.) But...over time dirt collected in those tiny little holes and no matter how much I washed the floor I couldn't make it look new again.
(The bottom half of the picture is how the floor looked--kind of speckled. The top is where I sanded it smooth.)
One day I walked into the kitchen with my sander and got to sanding my pretty floor paint off. It was not quick work, I knew it wouldn't be. Thankfully, I have stubbornness on my side.
Then I taped off a section of our floor, and barricaded the entry, so that little feet wouldn't walk were I didn't want them too.
Since my love affair with oil based paint is still strong, I decided to use that, and save myself an acrylic topcoat. With only one coat on a few squares, I knew that I had made a good choice.
Painting a kitchen floor when you are still trying to use the kitchen is a tricky business. Each coat takes 1 day to dry, and each color gets 2 coats each. That takes 4 days for each section to be finished.
When I removed the tape from the first section I was so so so happy. It was shiny and smooth and lovely.
The floor painting was not without its setbacks. I managed to put my hand in the paint one day, and Blake stepped in the paint on numerous occasions.
When a lot of the floor was done, I went back and left little tape sections on the floor to help me remember where to touch up.
It was about 1 1/2 weeks from start to finish, and a few meals that didn't require much effort. I made a conscious effort to go slow and make it nice, no matter how many times I just wanted it "Done!".
Take it from me. Taking your time yields better results.


Want some before and afters?
Before:
After:
Before:
After:
For anyone that is curious...we have lived in the house for 6 months and the painted floor has been great! If given the option, I would recommend a painted floor in a heartbeat.

Monday, February 3, 2014

Laminate, Dead Bugs, and Old Old Grease

It may seem like we have taken a break. Hahahaha!
Truthfully, what happened, is that we started about 5 projects all at once that have taken a long time to finish. Not the smartest move when dealing with someone that 1. gets side tracked and 2. looses interest. 
It also doesn't seem to help that all of our projects have had something happen that won't let us finish them.
More on that later.
A big change has been the kitchen. Mind you, there is nothing that is all that "earth shattering"...just getting rid of something that has bothered me.
Our house is a lot of things. New, it is not.
Our kitchen counters are laminate, and the laminate extends all the way up the wall. Handy, I am sure, back in the day.
If our laminate back splash was in good repair than we would have just kept it. The problem is that no matter how much I scrubbed there were those little grease dots that would not come off. 
I tried.
Comet, Barkeepers Friend, Magic Eraser, Soft Scrub...
Blake didn't think it was such a good idea to remove the back splash. He thought we should just leave it until we remodeled the kitchen.
Thankfully, one day when Blake was switching out our plugs for GFI's he accidentally pushed the plug through the wall. Whoever had installed the plug had put it next to a stud, but had not secured it to the stud.
Thank you, lazy electrician...whoever you are.
That little plug fumble made Blake OK with taking down the back splash. If for no other reason then that he could fix the plug.
First, we had to take down the hood vent. We knew it was old, and loud, and dirty. I figured that I would clean it and then spray paint it with heat resistant paint. I had already even bought the paint.
We underestimated just how dirty it would be.
WARNING:
There are some things that you can not un-see. This hood vent is one of them.
Blake unscrewed the screws and then started to take it down. I told him that I was going to take pictures. Mostly I was scared of what we were going to find. The further away the better. 
That black gunk? Grease build up from 1963.
That wasn't the worst part. Nope.
The bug skeletons on the top of the vent were the icing on the cake.
It was then and there that the decision was made. That hood vent was never coming back into our house....ever.
Then we started the fun/terrifying part of removing the laminate back splash.
It started out easy enough. It popped right off of the side of the cabinet. The drywall required a little more finesse but it was pretty easy too. We would take a putty knife and wedge it under the laminate then we would take the hammer and gently tap the handle of the putty knife. Alternating between using a putty knife and a screwdriver worked the best.
Blake worked on about half the wall, and I worked on the other half.
Until it looked like this...
Errr...Blake wanted to photo bomb....
until it looked like this.
The yellow is the glue that they used, and the brown spots are where the paper had peeled off of the sheet rock.
Some spots were not good and missing a bunch of paper.
After a little bit of research we decided that doing a coat of dry wall spackle would work best.
Working in small areas I would apply a thin coat, and then I let it dry and reapply another thin coat, until all the walls were covered.
Then using a small grit sandpaper I began to go over the walls.
Sanding didn't take long but it did make a lot of dust.
I also used some stripper to remove the glue on the side of the cabinets.
When I was done, I wiped down all of the walls and began to prep them for painting with some primer.
By simply priming the walls, they were already looking leaps and bounds better.
The kitchen looked like a tornado had hit...but the walls? Lots better.
Then I got out the green paint and went to work.
Funny thing is, when the walls were primed I was liking the walls white. I have not been able to stop thinking about it. Down the road the walls may get a new coat of paint. White paint.
In the meantime, they are great! Clean, smooth, and free of old old grease.
Before:
After:


Spoiler...something else in the kitchen got a makeover. Want to guess what?