Showing posts with label demo. Show all posts

Monday, August 18, 2014

All the Boring Stuff Before the Good Stuff

When we last left all all the walls were torn out.
When all of that was done, Blake started rebuilding the new wall.
At that moment I realized that I would not make a very good engineer, or builder for that matter. Blake was meticulous about measuring 19 gazillion times and making sure it was level just as many times. If it was me, I would have looked at it..."Yep. Looks about right" and called it good.
It is moments like that that I simultaneously realize, that is why Blake and I are a good team, and why we could never be on the amazing race together.
After the wall was put up and level, we moved on to the open door way.
It stated out looking like this:
We wanted the new door to be more of an opening at the bottom of the stairs to give it better flow, so we got to cutting.
Surprisingly, deciding where to open the wall to, was a lengthy conversation. In the end we decided to open it all the way to the bottom of the stairs. So, just a little bit bigger then this picture.

We also decided, long ago, that we would keep the secret passage way for the kids.
So, in order to make it a little bit nicer looking, Blake framed out the small doorway to the passageway.
This is where a lot of things, that have taken a lot of time, happened.
None of these pictures are all that interesting, unless you are planning on doing the same to your house. However, all of these things took Blake (working on them at nights) a couple days.
First up? HVAC.
On an exciting scale, this would rate very close to snooze-fest.
Blake cut into our HVAC duct. We had bought the corner ducts from Home Depot, and some flexible duct work.
He put the corner duct in then attached the flexible duct.
He secured it to the ceiling using the worlds largest zip ties.
Feeling the air flow through the ducts was very gratifying.
Next on the list was electrical. I would like to say that we did this...but we didn't. We hired a professional to do the job. Our wires were such a cluster-fest that it made more sense to have a professional look at it. Thankfully he was our friend, so it wasn't too costly.
Next, we had someone come and fix our main water shut off valve and the water spigot to the outside.
After all of that was done, Blake started on the insulation. When we picked up the insulation from the store Gavin asked why it smelled like cotton candy. We assured him, that it was all in his head.
Not only did it Not smell like cotton candy, it made Blake itch like it was nobodies business.
After all of that, we mostly feel a sense of accomplishment, and it isn't even done yet.
We decided a couple of weeks ago to also leave the drywall to a professional. We are nothing if not realists. We realize that our walls and ceilings have no texture and this is two big rooms. Our skills just don't compare to people that do it day in and day out.
They started doing the sheetrock today.
We are hoping that they will be done by the end of the week so that we can get to the good stuff.
We are putting in bamboo floors downstairs, that will match our upstairs wood floors.
I even did a preliminary lay out to see what they would look like.
Soon, very soon, it will be good bye carpet and hello wood. I also am a little giddy to have my house back to normal, or at least...new normal.

Friday, August 1, 2014

Miss Me?

You would think that I have been off partying...and well, you would be partially right. We went to Washington for two weeks to spend time with my family. It was awesome. 
Right before we left we were able to close on the refinance of our house. The only problem is that with it being so close to our trip we weren't able to demo the downstairs quite the way we had hoped. 
We got back on Sunday and early Monday morning we started ripping down things.
Just to give you a refresher, this is what it looked like before. 
With not too much effort, we began.
The ceiling came down first.
The ceiling was acoustic tiles which just snapped together. With a little tug we were able to pull them down.
Then we moved onto the drywall and the wood paneling that went over the top of it.
Demo work is empowering. There is nothing that quite makes you feel like "I am woman hear me roar" like smashing a wall to bits. 
But...It does make quite the mess.
Blake did the majority of the hard things. What can I say?...
After we had removed the drywall from one wall we moved onto the other.
Finding mold is always a possibility when you live in an old house. But, finding this very large spot caught me a little off guard.
(you can see the plug for a size comparison. Eeek!)
After removing all of the other walls we started to work on the Laboratory walls. Surprisingly, those walls were built out of plaster board. Which, if you don't know, is Annoying!
This picture also kind of gives you a better idea of how the room was set up with the Laboratory just smack dab in the middle of the room.
While taking down the built in cabinets in the Laboratory I managed to hit my foot with a cabinet. It still hurts, weeks later.
Once all the cabinets and drywall were down, you could finally see the light.
With all the walls and ceiling down we finally removed the carpet.
Then we wheeled the piano into the family room, to make room for the construction that was going to start.
The best part of the whole thing is that even though our pile of garbage was gigantic, we were able to dump it all in the community dumpsters the next day. 

Not bad for a days work. 

Monday, February 3, 2014

Laminate, Dead Bugs, and Old Old Grease

It may seem like we have taken a break. Hahahaha!
Truthfully, what happened, is that we started about 5 projects all at once that have taken a long time to finish. Not the smartest move when dealing with someone that 1. gets side tracked and 2. looses interest. 
It also doesn't seem to help that all of our projects have had something happen that won't let us finish them.
More on that later.
A big change has been the kitchen. Mind you, there is nothing that is all that "earth shattering"...just getting rid of something that has bothered me.
Our house is a lot of things. New, it is not.
Our kitchen counters are laminate, and the laminate extends all the way up the wall. Handy, I am sure, back in the day.
If our laminate back splash was in good repair than we would have just kept it. The problem is that no matter how much I scrubbed there were those little grease dots that would not come off. 
I tried.
Comet, Barkeepers Friend, Magic Eraser, Soft Scrub...
Blake didn't think it was such a good idea to remove the back splash. He thought we should just leave it until we remodeled the kitchen.
Thankfully, one day when Blake was switching out our plugs for GFI's he accidentally pushed the plug through the wall. Whoever had installed the plug had put it next to a stud, but had not secured it to the stud.
Thank you, lazy electrician...whoever you are.
That little plug fumble made Blake OK with taking down the back splash. If for no other reason then that he could fix the plug.
First, we had to take down the hood vent. We knew it was old, and loud, and dirty. I figured that I would clean it and then spray paint it with heat resistant paint. I had already even bought the paint.
We underestimated just how dirty it would be.
WARNING:
There are some things that you can not un-see. This hood vent is one of them.
Blake unscrewed the screws and then started to take it down. I told him that I was going to take pictures. Mostly I was scared of what we were going to find. The further away the better. 
That black gunk? Grease build up from 1963.
That wasn't the worst part. Nope.
The bug skeletons on the top of the vent were the icing on the cake.
It was then and there that the decision was made. That hood vent was never coming back into our house....ever.
Then we started the fun/terrifying part of removing the laminate back splash.
It started out easy enough. It popped right off of the side of the cabinet. The drywall required a little more finesse but it was pretty easy too. We would take a putty knife and wedge it under the laminate then we would take the hammer and gently tap the handle of the putty knife. Alternating between using a putty knife and a screwdriver worked the best.
Blake worked on about half the wall, and I worked on the other half.
Until it looked like this...
Errr...Blake wanted to photo bomb....
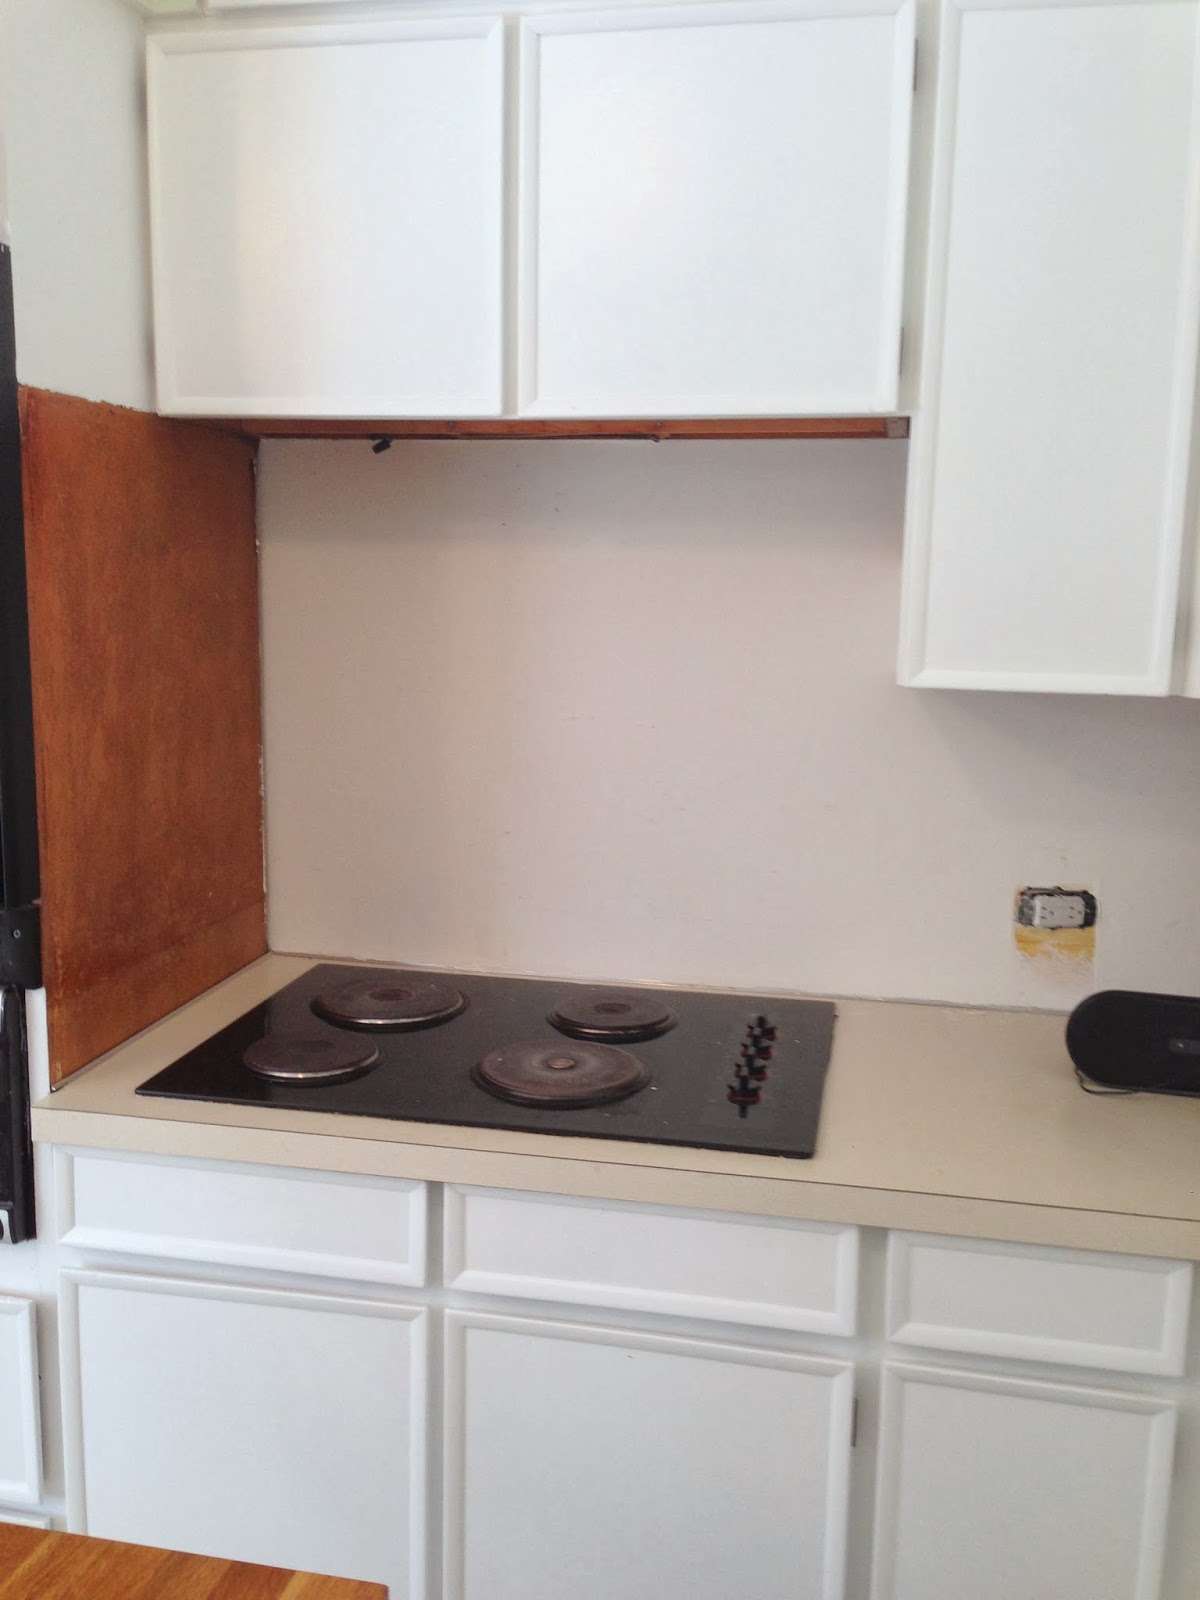
until it looked like this.
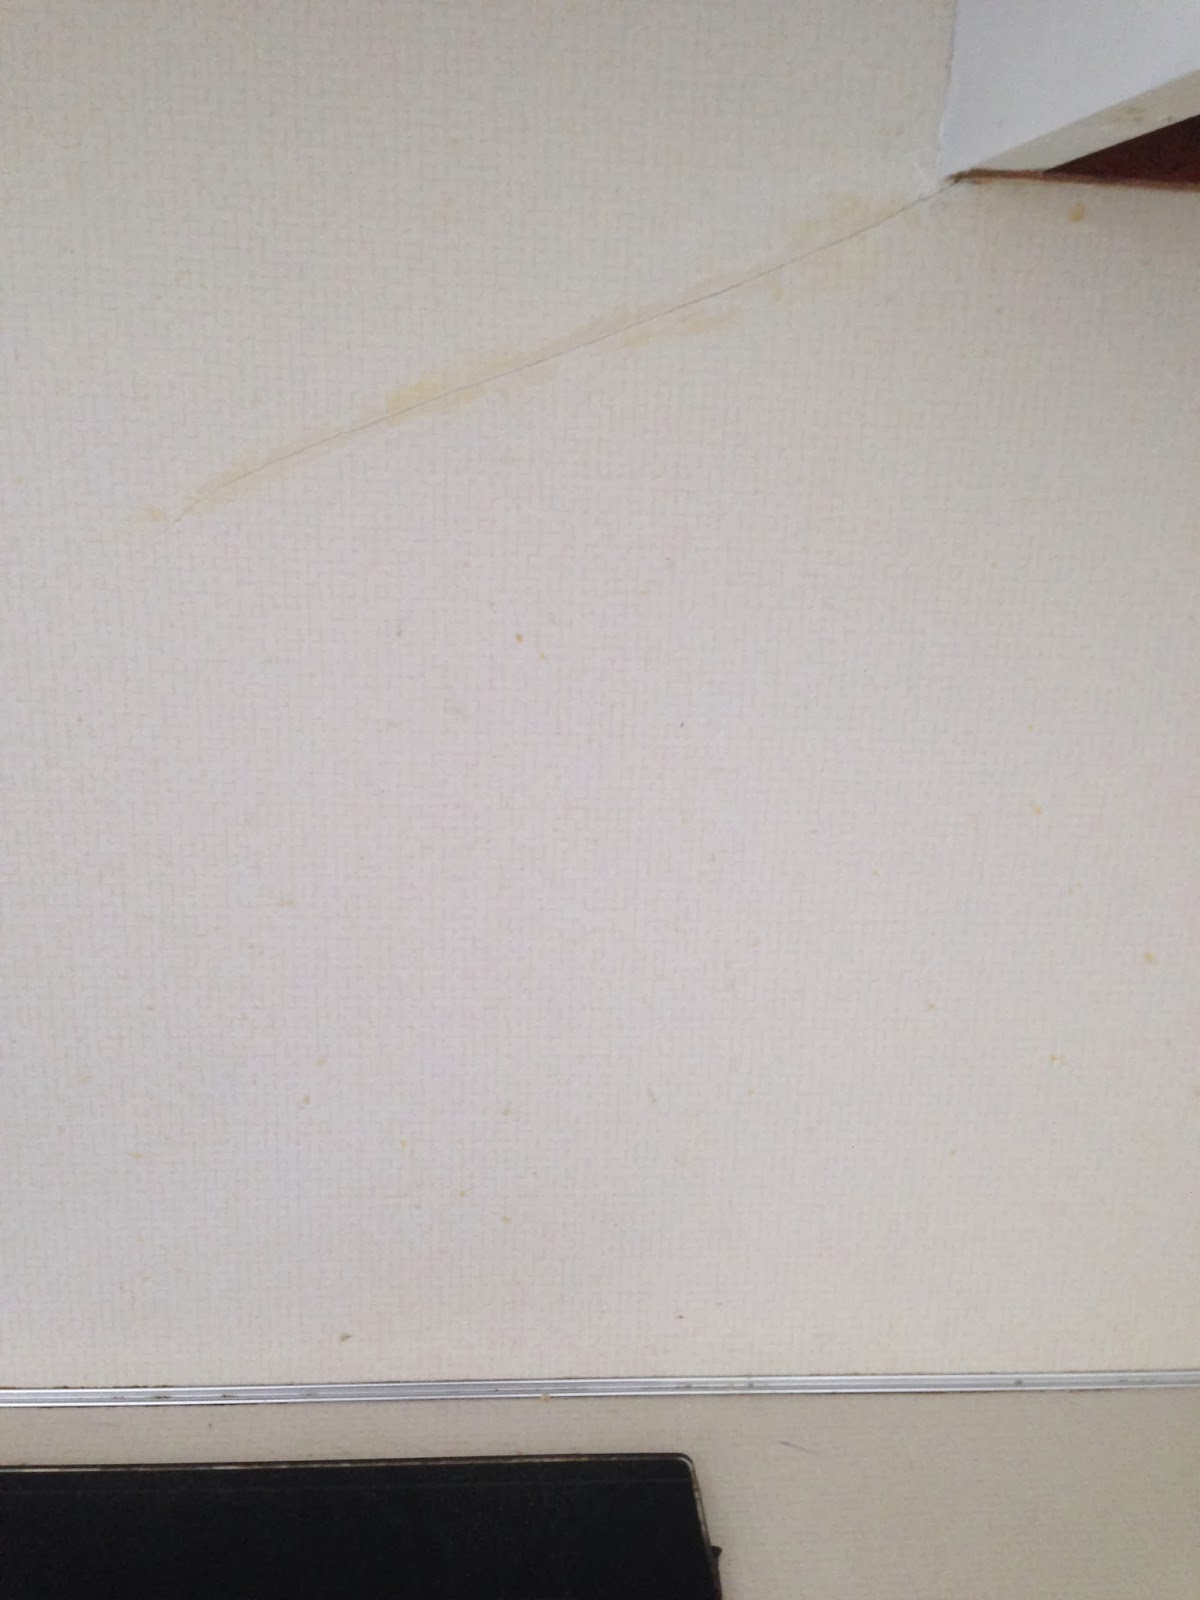
The yellow is the glue that they used, and the brown spots are where the paper had peeled off of the sheet rock.
Some spots were not good and missing a bunch of paper.
After a little bit of research we decided that doing a coat of dry wall spackle would work best.
Working in small areas I would apply a thin coat, and then I let it dry and reapply another thin coat, until all the walls were covered.
Then using a small grit sandpaper I began to go over the walls.
Sanding didn't take long but it did make a lot of dust.
I also used some stripper to remove the glue on the side of the cabinets.
When I was done, I wiped down all of the walls and began to prep them for painting with some primer.
By simply priming the walls, they were already looking leaps and bounds better.
The kitchen looked like a tornado had hit...but the walls? Lots better.
Then I got out the green paint and went to work.
Funny thing is, when the walls were primed I was liking the walls white. I have not been able to stop thinking about it. Down the road the walls may get a new coat of paint. White paint.
In the meantime, they are great! Clean, smooth, and free of old old grease.
Before:
After:


Spoiler...something else in the kitchen got a makeover. Want to guess what?