Monday, August 18, 2014

All the Boring Stuff Before the Good Stuff

When we last left all all the walls were torn out.
When all of that was done, Blake started rebuilding the new wall.
At that moment I realized that I would not make a very good engineer, or builder for that matter. Blake was meticulous about measuring 19 gazillion times and making sure it was level just as many times. If it was me, I would have looked at it..."Yep. Looks about right" and called it good.
It is moments like that that I simultaneously realize, that is why Blake and I are a good team, and why we could never be on the amazing race together.
After the wall was put up and level, we moved on to the open door way.
It stated out looking like this:
We wanted the new door to be more of an opening at the bottom of the stairs to give it better flow, so we got to cutting.
Surprisingly, deciding where to open the wall to, was a lengthy conversation. In the end we decided to open it all the way to the bottom of the stairs. So, just a little bit bigger then this picture.

We also decided, long ago, that we would keep the secret passage way for the kids.
So, in order to make it a little bit nicer looking, Blake framed out the small doorway to the passageway.
This is where a lot of things, that have taken a lot of time, happened.
None of these pictures are all that interesting, unless you are planning on doing the same to your house. However, all of these things took Blake (working on them at nights) a couple days.
First up? HVAC.
On an exciting scale, this would rate very close to snooze-fest.
Blake cut into our HVAC duct. We had bought the corner ducts from Home Depot, and some flexible duct work.
He put the corner duct in then attached the flexible duct.
He secured it to the ceiling using the worlds largest zip ties.
Feeling the air flow through the ducts was very gratifying.
Next on the list was electrical. I would like to say that we did this...but we didn't. We hired a professional to do the job. Our wires were such a cluster-fest that it made more sense to have a professional look at it. Thankfully he was our friend, so it wasn't too costly.
Next, we had someone come and fix our main water shut off valve and the water spigot to the outside.
After all of that was done, Blake started on the insulation. When we picked up the insulation from the store Gavin asked why it smelled like cotton candy. We assured him, that it was all in his head.
Not only did it Not smell like cotton candy, it made Blake itch like it was nobodies business.
After all of that, we mostly feel a sense of accomplishment, and it isn't even done yet.
We decided a couple of weeks ago to also leave the drywall to a professional. We are nothing if not realists. We realize that our walls and ceilings have no texture and this is two big rooms. Our skills just don't compare to people that do it day in and day out.
They started doing the sheetrock today.
We are hoping that they will be done by the end of the week so that we can get to the good stuff.
We are putting in bamboo floors downstairs, that will match our upstairs wood floors.
I even did a preliminary lay out to see what they would look like.
Soon, very soon, it will be good bye carpet and hello wood. I also am a little giddy to have my house back to normal, or at least...new normal.

Friday, August 1, 2014

Miss Me?

You would think that I have been off partying...and well, you would be partially right. We went to Washington for two weeks to spend time with my family. It was awesome. 
Right before we left we were able to close on the refinance of our house. The only problem is that with it being so close to our trip we weren't able to demo the downstairs quite the way we had hoped. 
We got back on Sunday and early Monday morning we started ripping down things.
Just to give you a refresher, this is what it looked like before. 
With not too much effort, we began.
The ceiling came down first.
The ceiling was acoustic tiles which just snapped together. With a little tug we were able to pull them down.
Then we moved onto the drywall and the wood paneling that went over the top of it.
Demo work is empowering. There is nothing that quite makes you feel like "I am woman hear me roar" like smashing a wall to bits. 
But...It does make quite the mess.
Blake did the majority of the hard things. What can I say?...
After we had removed the drywall from one wall we moved onto the other.
Finding mold is always a possibility when you live in an old house. But, finding this very large spot caught me a little off guard.
(you can see the plug for a size comparison. Eeek!)
After removing all of the other walls we started to work on the Laboratory walls. Surprisingly, those walls were built out of plaster board. Which, if you don't know, is Annoying!
This picture also kind of gives you a better idea of how the room was set up with the Laboratory just smack dab in the middle of the room.
While taking down the built in cabinets in the Laboratory I managed to hit my foot with a cabinet. It still hurts, weeks later.
Once all the cabinets and drywall were down, you could finally see the light.
With all the walls and ceiling down we finally removed the carpet.
Then we wheeled the piano into the family room, to make room for the construction that was going to start.
The best part of the whole thing is that even though our pile of garbage was gigantic, we were able to dump it all in the community dumpsters the next day. 

Not bad for a days work. 

Thursday, June 12, 2014

Summertime is Painting Time

Remember that one time I bought a pretty ugly dresser on KSL, brought it home and painted it but forgot to take a before picture?
(I swear that I took a picture, even one of me priming the dumb thing, but I can not find it anywhere)
The gist of the story is that the dress looked a lot like this.
Woodish, ornate, big heavy handles, and cheap, because no one knows what to do with these things. That is, until I come along and want to snatch up that ugly dresser like it is nobodies business. I even drove the 40 minutes one way to pick it up.
I knew exactly how I wanted to paint it, I just had to wait until we had space to do it.

I feel like the reveal pictures are very anti climactic without a before picture. Sigh...oh well.
This dresser is going to live in the boys room. It may be the first step in actually, one day, making their room not suck. 
Anymore, when I spot something...a little on the ugly side...and say that "I want it", Blake doesn't argue. I am not sure if it is because he trusts me...or because he realizes that he is fighting a loosing battle. Either way, for me it is a win.
With the weather getting warmer I am now able to spray paint things outside. Quite possibly one of my favorite quick fixes.
We have a very large patio on the front of our house that we lovingly refer to as the "party patio." We have a lot of impromptu BBQ's on the party patio and we hang out there a lot. Since a good amount of time hanging out there is also spent eating, I decided that I wanted a table that we could use for food. I wanted it to be cheap so that if the elements reeked havoc on it, I wouldn't care. I found the perfect table at the DI.
It had all of the things that I wanted. It was cheap, it had a leaf, and it was Formica which would be good in the rain.
It was speckled with gold, which left something to be desired.
Plus it was dirty as can be. I gave it a good healthy scrubbing and then used something that I had been wanting to try.
Appliance spray paint.
I gave the table three good coats just to make sure that it was well covered.
Then I painted the metal legs a bright teal that matches some of our outdoor chairs.
The table has been painted for over a month and, so far, has held up great. Truthfully, I am trying to figure out what other things I can paint with appliance paint that are not appliances.

On a completely separate note: We were hoping to close on our refinance this last Tuesday but it didn't happen. As soon as we close, demolition begins. I am very excited about tearing down the wood paneling.

Monday, June 2, 2014

Fixing What Bugs You

Where to begin?
First: we decided to refinance our house. It helps us to lower our payment. With that happening, we have not been able to really work on anything. We had to have an appraiser come to our house, so we couldn't have it all torn apart.
Before the appraiser came, however, I did decide to work on the one thing that irritates me more then anything else in our house.
What you ask?
Our hallway closet.
In the spirit of full disclosure, this is what our hallway closet looked like 99% of the time.
Our kids get home from school and toss their backpacks and crap on the floor. Most of the time their stuff was vomiting out into the hallway. No matter how many times I "reminded" them to clean it up, it was always there.
That coupled with the fact that the closet door blocks our hallway, was enough to make me batty most days.
When something irritates you day in and day out, the only reasonable option seems to be...to paint it.
You know what they say? If you like it then you better put a dot on it.
That's not how it goes?!
Well, while I drew circles, you can imagine that I sang my version of the Beyonce song.
Using a cup for my circles seemed like the easiest idea to me. I spaced them randomly, and used a little sample pot of paint I bought at Home Depot months ago for $.50.
Blake moved up the top shelf so that one day we can add another shelf. Just moving up the shelf seems to have made more room in the closet. That...or the fact that I got rid of 90 gazillion pairs of kid shoes they don't wear.
With the shelf moved up, the new shelf looked out of place. I had some of the color paint left so I decided to paint the top of the closet.
I gave the gold hooks, that were in there, a little coat of paint to match our kids homework holder.
Then I stood back and thought..."is this busy closet going to bug me?"
Then it occurred to me, "if it does, then I will paint it." Easy enough.
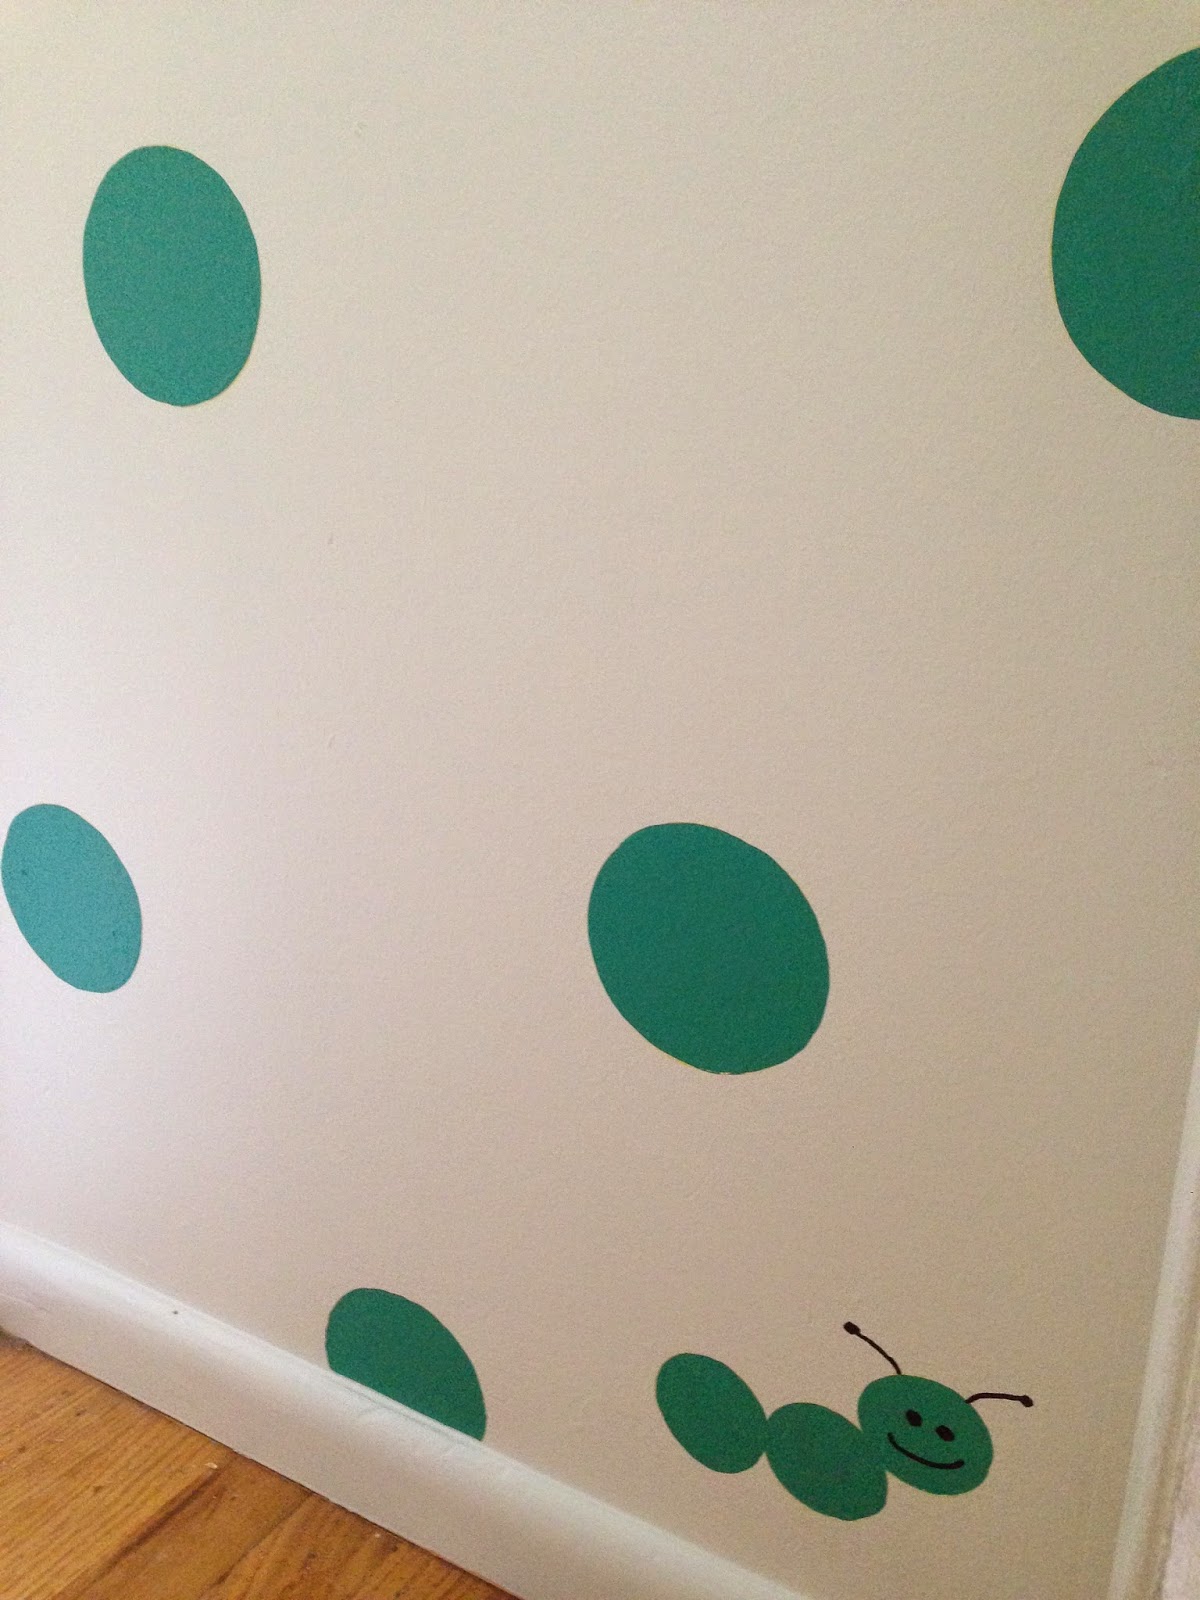
When I was painting all of the dots, Penny kept being insistent that I needed to make some small dots. She wasn't happy with the prospect of only big dots. So, I did what any crazy mom would do. I appeased her with three small dots. They even got antennas and a smiley face.
Having all the crap back in the closet kind of takes away from it's charm...but it also covers up the loudness of the dots.
So far having the dots has made me not hate it every time I see it open. My big dreams for the closet would be adding a sliding door, like this.
In the mean time...
Blake and I have been plotting our next move for the house. With the appraisal done, we decided to start the big downstairs room remodel.
Blake was even kind enough to do a scale drawing of the basement.
The one on the left shows the secret laboratory. The one on the right shows the new bedroom addition and office. 
We are supposed to close in a couple days and then the construction begins.
I am as giddy as a school girl.

Monday, May 5, 2014

Stuck

I am having a hard time lately starting a project.
I have a lot of ones that I want to do...just having a hard time deciding which one is the best.
When in doubt? Write a list.
We will start with the smallest (littlest time and money) and go to the biggest.
1. Kitchen Countertop.
Our kitchen countertop is fine. That is about as far as I will go to praise it, but it is just that...fine. It is a beige laminate that is in good condition. I have no intention of replacing it until we do a complete kitchen remodel, down the road. But covering it up? Where do I sign up?
That being said, I have seen a ton of tutorials online on doing concrete countertop over your current countertop. I have read tons of methods on how to do it. My one big hangup is, most people hadn't found a sealer that was really resistant. Then I came across a review of using a mixture of different sealers to really "seal" it. Problem solved.
The supplies themselves are pretty inexpensive, the labor...is a little intensive. However, I think that it would make our kitchen look a little more modern, without a complete overhaul.
Not our kitchen, but you get the gist.
2. The spare room flooring.
The carpet in the spare room is pretty bad. It is not stained, but it does have a big burn mark from someone setting a hot clothes iron on it, and the seams are separating. I have thought a couple times about just taking out the carpet and painting the floor.
My problem with that is, I am nervous it would make the room seem cold, especially because it is in the basement.
Recently I was reading a blog where they had done a plank flooring out of plywood.
I was all ready to go...then it occurred to me that I don't know how to secure the nails, that go through the planks, into the concrete floor. Cost wise it isn't much, and it is an upgrade above a painted concrete floor and current carpet. My major hangup with it, is securing it.

3. The big project. The other "wing" of the basement.
It is going to be a little hard to understand the layout of our house if you haven't been here. So, I am going to try and explain it.
Ready?
When you walk down our front stairs to the right is the family room,
and to the left is a hallway...kind of.
When you first go through the door, to the left of the stairs, on the left is a little room. 
Our kids have lovingly named it the "secret laboratory."
(The wall with the map shares a wall with our stairs.) The space that is open (in the back on the left) is a secret passage way that goes under the stairs and into our family room. 
Across from the map wall is a desk.
(The room pretty much looks this messy All. Of. The. Time. Thank goodness for doors.)
The kids use the desk for coloring and playing and general mayhem.
I don't care if it is messy (most of the time) because it is their spot. They have even tagged the walls, and in some instances removed people.
On the other side of the laboratory is the toy room.
You can kind of tell in this picture how it is set up in the room.
The hallway is on the left, and on the right side of the wall is another little "hallway" so that you can access the laboratory from either side.
The previous owner used the laboratory for his own little work room. Basically this room is one Large room with a smaller room inside it.
Get it? Hopefully?
A very generic layout would look like this, with the hallway starting in the bottom middle.
Anywhooo.
I really want to tear down the laboratory wall and make two rooms out of the one big space. The toy room would become a bedroom and we would open up the laboratory to become a small open office.
Maybe have a desk like this going around the wall?
The problem is:
It will probably cost the most. We won't have enough money after it is done to replace the carpet, which could be bad come winter time. It is a very large undertaking.
But...we would probably appreciate this change the most. Making another room would be great, the kids toys would be inside that room so it would be nice to not have them take up an entire side of the house. Taking out the laboratory would also open up that space and make it feel a little less like a long hallway.

What say you? Start small? Or go big or go home?
See why I am having such a hard time?!